

Gather for Pizza Night

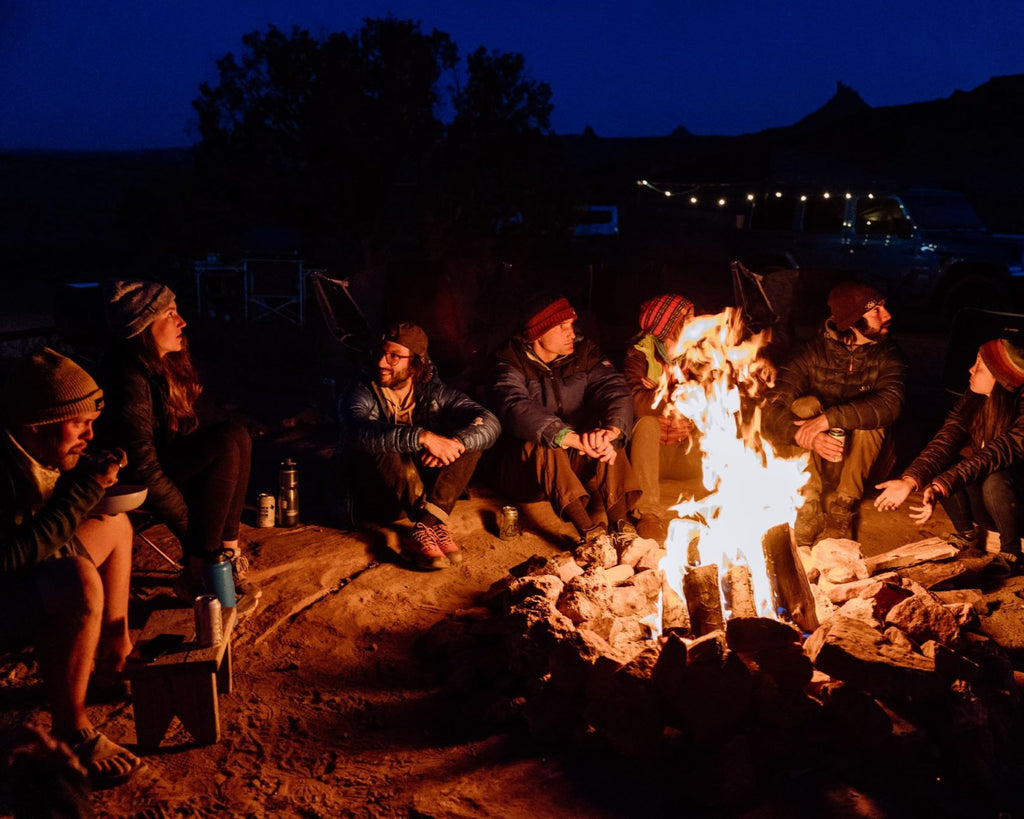
Ya know how we all, as nomads, crave community? Why we “descend”, and Land on the Moon, and gather in the mecca that is Quartzite, AZ every January. Why we’re on social media and folks are creating apps to help us find places to park up and connect with each other.
’Cause no matter how loner-y we enjoy being, there’s a part of us that wants to connect, to feel like we’re a part of something bigger than us…it’s just human nature.
We, as full-time nomads for the last two and a half years, started out not knowing many people, but once we started meeting other nomads and doing meetups (one of which was with the good folks from Moon) we started to really enjoy and seek out every gathering we could. Being a former foodie-type person, I have always felt that food is a great way to bring folks together. We started doing pizza night as often as we could and they’ve been epic! The Bacons have become synonymous with “pizza night” at every gathering, and I wouldn’t have it any other way!
Everyone loves pizza: it’s easy to manage any dietary work-arounds, and since everyone builds their own, they have complete creative control. Here’s some steps and tips to help you set up your own Pizza Night. Go on…give me a run for my money.
Steps for a successful nomad gathering:
- Gather a few friends OR create an event on Sekr (at least a few days out if you can)
- Tell folks to BYOB and to bring a few pizza toppings
- Gather firewood, make a fire, get your grate ready to go
- Make (or buy) a bunch of pizza dough
- Set out a buffet table with all the toppings (it’s helpful if you put them in the order they “should” go on the dough, but certainly not mandatory!)
- Make a gratitude circle, and before you go around and say what you’re all thankful for, give your guests a quick rundown of “The Method” (see below)

The Bacons’ Camp Pizza - Fire/Grate Method:
Supplies & Ingredients
- Cast iron or heavy bottom, fire safe skillet, or Dutch oven
- Heavy duty oven mitt (welding gloves are great for campfire tasks)
- Silicone spatula (silicone scraper spatulas are ideal)
- Cooking olive oil
- Pizza dough (scratch, mix, or premade)
- Sauce
- Toppings (meats should be pre-cooked)
Steps
- Generously oil your skillet (make sure it’s fire safe!)
- Gently flatten/spread your dough in the pan. it doesn’t have to touch the sides, but it can. Thinner dough cooks faster (not necessarily better, just something to keep in mind)
- Put your skillet and dough over the fire for about 5-7 minutes. Watch the fire and rotate your pan to try and get an even cook. Use a heavy duty oven mitt (it can get HOT!) and use a spatula to carefully lift up and peek at the bottom of your dough once or twice. You are going for a lightly toasted, golden color across most of it.
- Once the bottom of the crust is done, remove the skillet from the fire.
- Flip the dough over in the skillet.
- Sauce it.
- Top it. Let your imagination run wild!
- Put the pizza back on the fire. The final back takes about 7-10+ minutes (check periodically). Your goal is to cook the bottom and the middle of the dough (thinner dough = faster cook) and to heat your toppings and cheese to melty perfection. You could cover the skillet with a Dutch oven lid or foil to speed things along.
Pro Tip: If using a cast iron lid, keep the lid on the grate while the pizza cooks. When you put it over your skillet or Dutch oven, the heat should melt and brown your cheese a bit. - When it looks like something you want to eat, take it off the fire, plate it, cut it and devour! (Cast iron holds heat so you’ll want to plate the pizza quickly to avoid scorching the crust.)
Here’s the thing: it doesn’t matter if you buy a premixed dough from the store, or a mix off the shelf, or use a sourdough starter or yeast, or gluten free or whole wheat or whatever you want to use. This method is very basic, and it should apply to anything (cook times will vary depending on crust and toppings). It may take a little tweaking, so go easy & test it along the way...you can do this! Most of all, gather your ‘tribe’ and have fun.

BONUS: Stove Top Method
The dispersed heat of a campfire make it a great (and fun!) way to cook your pizza. But, campfires aren’t ideal or possible at all times and places. You can achieve similar results using your camp stove or your galley stove to cook the pizza. Follow the instructions as normal, and heat your pizza over medium or medium-low heat.
When cooking pizza on the stove, you’ll likely need to move the skillet around more frequently since the heat can be more concentrated in certain spots. This can lead to burnt crust if you don’t keep an eye on it. Also, a lid or foil can help trap in heat and more thoroughly cook the dough and warm the toppings and cheese.
About the Author
Erin Davy is a real food and farmers market enthusiast. Her work in catering, restaurants and in-home as a personal chef was her means to extract herself from what became ‘the grind’ after 17 years in the corporate world of tourism and travel. As a military brat, travel has always been part of her life, but nowadays she and her husband, Joe Bacon, prefer to explore the world in their own way. Together with their adorable doxie, Finn, they’ve been full-time on the road since April 2020. You can follow their antics, van/camp-food and other “adVANtures” on Instagram: @thebaconsrebellion.


